Here is my first tutorial!
I really love the look of bokeh, but it isn't always possible to photograph. Whether you're too close to the light source, your aperture is too big, or bokeh literally isn't an option, here is a way to add it to any photo.
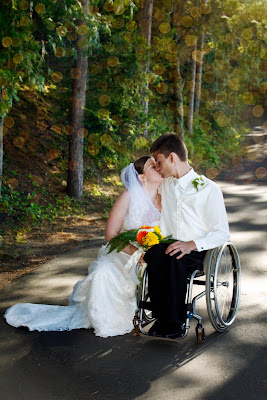
So here is the final image. This picture wouldn't realistically have bokeh in it, but I wanted to give the photo a more whimsical feeling.
So lets begin:
Here is the original photo opened in photoshop:
(ignore the layers in my layers panel, all you need is the steps here in this tutorial)
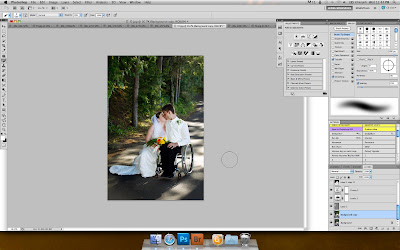
Find a photo of bokeh. I found mine at deviantart.com under the stock and resource page. I suggest finding a photo where the bokeh is small so the bokeh will be more realistic in your composite. Rotate and resize the photo till it fits in the background.
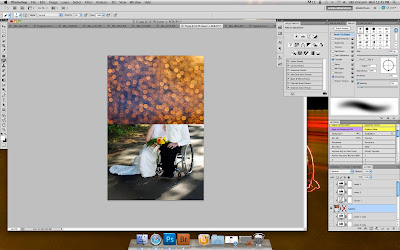
Using a mask, paint black the shapes you don't want the bokeh to cover, such as objects in the for ground. Here, I painted over the couples head.
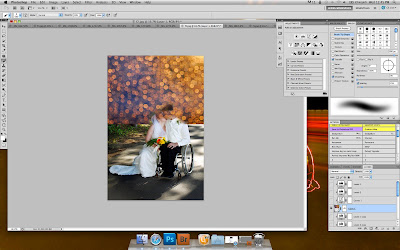
Next set the bokeh layer to a screen blending mode.
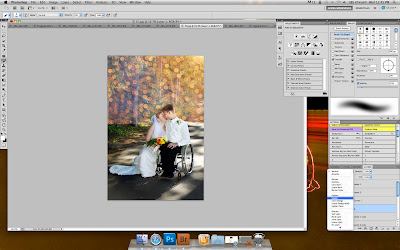
Now using an adjustment layer, lower the curves on the bokeh layer. This will help erase the background of the bokeh.
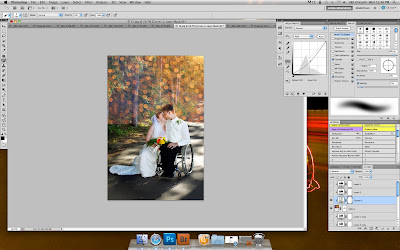
Change the opacity of the bokeh layer to about 38%. Now using a levels adjustment layer, makes the shadows darker. This will again help remove the background of the bokeh layer. At this point, I used the levels layer to change the tint of the bokeh photo to better match the colors in the base image. To change colors with the levels adjustment, select the drop down menu the reads RGB, and select another color to adjust its strength.
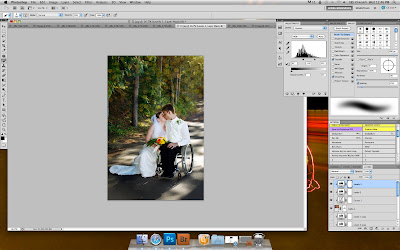
Now merge it all together by hitting command shift e.
Thats it! You're done!
Please feel free to critique or ask questions about this tutorial, or suggest anything else you'd like to see! Thanks!

No comments:
Post a Comment