I had a request to create a tutorial on how to remove harsh shadows due to poor lighting. In my experience, I try to get the lighting right the first time. In the past I felt rushed and nervous when adjusting my lights, but I have
learned as long as you explain to your model you simply want the picture to be perfect, they shouldn't rush you.
So lets begin:
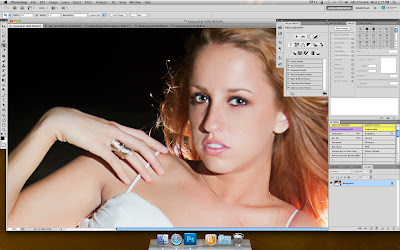
Here is the original image. You can see her nose has a harsh shadow on the left side.
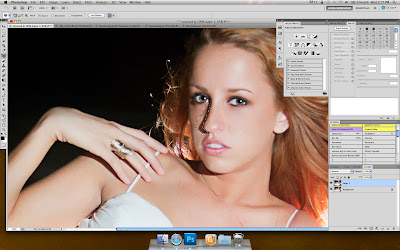
Begin by selecting the shadow with the patch tool.
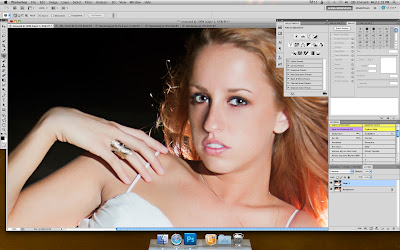
Drag the selection to an area where the texture of the surrounding area
will match that of the created patch.
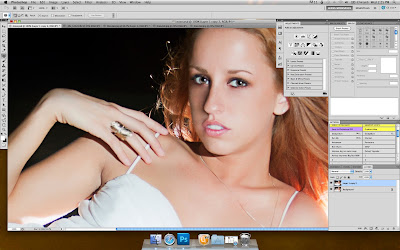
Do the same with any other shadows you wish to remove (on this photo I am removing the shadow under her left eye).
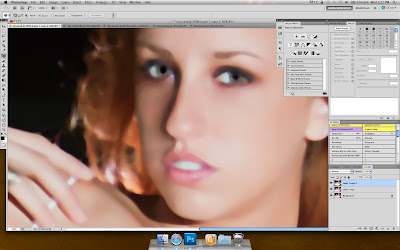
*Create a new layer by selecting Command+J. Select the filter drop down menu, and select the noise menu. Choose Median from the noise panel, and scroll the settings until the noise has been blurred.
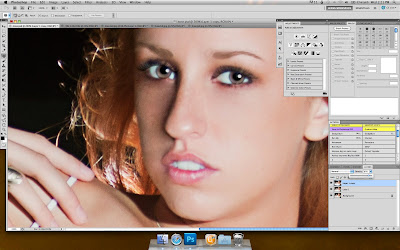
Reduce the opacity of the layer, and using a mask, erase the area around the shadow.
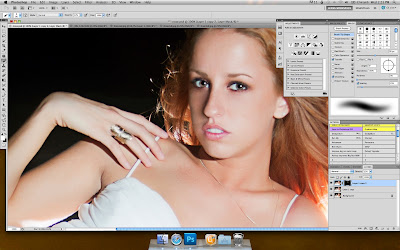
You have now erased a shadow using photoshop! If the shadow still has shapes from the patch tool, continue using the patch tool in small increments until the shapes are erased and the skin is smooth.
Here is the final image using Noiseware.
*If you have the Noiseware software by Imagenomics (which I definitely recommend) simply reduce the noise via that software at this step. If you are interested in purchasing this software, visit the Imagenomics website.


No comments:
Post a Comment